

How do I add an image to a page?
Adding an image to a page is a two-step process.
- Upload the image to the Repository.
- Add the image to a page.
This tutorial only covers step 2. For help with step 1, click here.
How you add an image to your page depends on which text editor you're using.
How to Add an Image to a Page Using the TinyMCE Text Editor
- Start by navigating to the page you'd like to edit and accessing the Edit Page screen. (Need help with this step?)
- Click inside the Body Text area where you would like to place your image.
- In the formatting toolbar, click on the Insert/Edit Image icon.
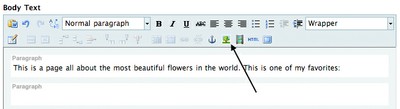
- A small window titled Insert/Edit Image will open.
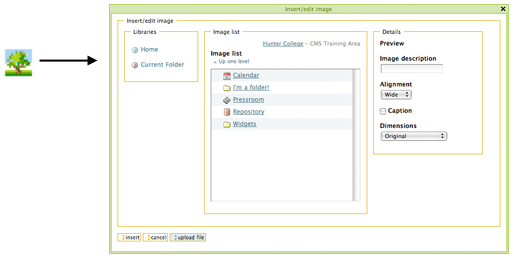
- In the Image List area, click on Repository, then click on Images.
If Repository isn't visible when this window first opens, you may need to navigate through your site contents in the Image List to find it.

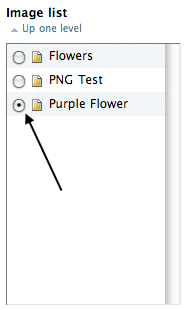
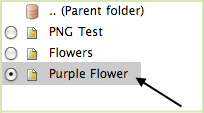
- All of the images in your Repository will be listed. Select the radio button next to the image you'd like to use.
- In the Details column, you can give the item a description, select an alignment, choose whether or not to display a caption, and choose the dimensions (or size) of your image. A few notes:
- Image Description: This is for your reference only. This description will not be displayed.
- Alignment: Left and right will display alongside a block of text, on the side indicated. Wide will stretch the image the full width of the page. Inline places the image in a line of text, meaning that text will not wrap around it.
- Caption: If you enable this option, the description you entered for the image when you first uploaded it into the Repository will be used as the image's caption.
- Dimensions: You can choose how big the image should appear on your web page. Keep in mind that smaller images cannot be stretched to a larger size.

- When you're ready, click on Insert.
- The Insert/Edit Image window will close, and you'll now see your image inside the Body Text area.
- You may now continue editing your page. When you're finished, remember to click Save.
How to Add an Image to a Page Using the Kupu Text Editor
- Start by navigating to the page you'd like to edit and accessing the Edit Page screen. (Need help with this step?)
- Click inside the Body Text area where you would like to place your image.
- In the formatting toolbar, click on the Insert/Edit Image icon.

- A small window titled Insert Image will open.
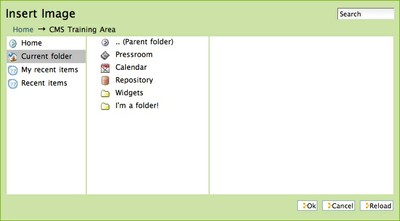
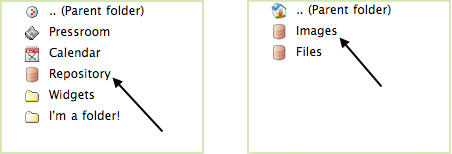
- In the center column, click on Repository, then click on Images.
If Repository isn't visible when this window first opens, you may need to navigate through your site contents using the breadcrumb trail and the options in the left column to find it.
- All of the images in your Repository will be listed. Click on the name of the image you'd like to use.
- In the right column, you can see the name, description, size and state of the image; select an alignment; choose whether or not to display a caption; choose the size of your image; and enter a text equivalent for the image. A few notes:
- Alignment: Left and right will display alongside a block of text, on the side indicated. Wide will stretch the image the full width of the page. Inline places the image in a line of text, meaning that text will not wrap around it.
- Caption: If you enable this option, the description you entered for the image when you first uploaded it into the Repository will be used as the image's caption.
- Size: You can choose how big the image should appear on your web page. Keep in mind that smaller images cannot be stretched to a larger size.
- Text Equivalent: This option only appears when the caption is not enabled. This text will appear in place of the image if the image fails to load.

- When you're ready, click on Ok.
- The Insert Image window will close, and you'll now see your image inside the Body Text area.
- You may now continue editing your page. When you're finished, remember to click Save.
I don't know which text editor I'm using.
Short Answer:
If your formatting toolbar is blue, you're using TinyMCE.
If your formatting toolbar is green, you're using Kupu.
Long Answer:
There are many differences between the Kupu and TinyMCE text editors. We strongly recommend using TinyMCE. If you would like to change your text editor from one to the other, click here to learn how.