
How do I replace an image or file?
The Hunter WebCMS provides an easy way for you to replace an existing image or file in your subsite.
This feature is particularly useful if you have an image or file that is linked to several times throughout your site. By replacing the image or file instead of adding a new one, you will not need to update all of the links throughout your site. Your links will automatically point to the latest version.
The process of replacing an existing image or file is as follows:
- Navigate to your subsite's homepage (if the file you wish to replace is in your top-level Repository) or to the orgfolder in which the file is located.
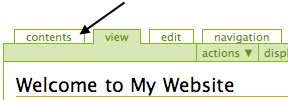
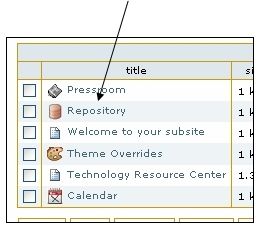
- Click on the Contents tab.
- Click on Repository.
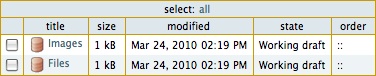
- If you're replacing an image, click on Images. If you're replacing a non-image file (for example, a PDF or Microsoft Word document), click on Files.
- When the page reloads, you should see the item you wish to replace in the contents table.
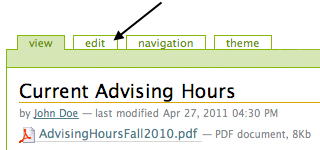
In this example, we're going to be replacing our Current Advising Hours document.
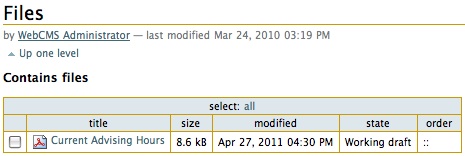
- Click on the name of the item you wish to replace.
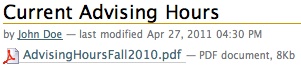
- When the page reloads, you should see the title of the document, its description (if it has one), the name of the person who originally uploaded it, the date and time it was last modified, and the file size. If the item is a non-image file, you'll also see the name of the document and its file format. If the item is an image file, the image will be displayed.
- Click on the Edit tab.
Note: If the Edit tab is not visible and the item is Externally Published, you will need to use the check-out/check-in process to edit the item.
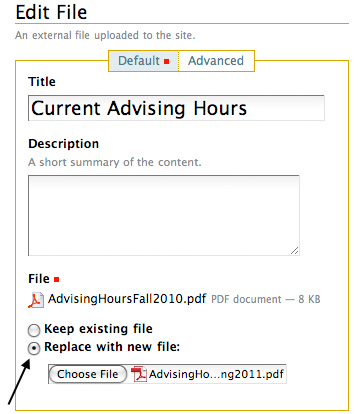
- On the Edit File or Edit Image page, you can change the title and description of your item. You can then choose to Replace With New File/Image. Select the radio button next to this option, and then click on Choose or Browse to select the new file from your computer.
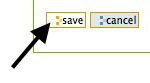
- When you're finished, click on Save.
Remember: If the item was Externally Published and you had to check it out in order to edit it, you must now check it back in before your changes will appear on your public-facing website.