
How do I edit an externally published page or content item?
After a page or other content item has been externally published, you must use the check-out/check-in process to edit it.
The check-out/check-in process creates a copy of an existing item that you can edit while the old version remains on the live, public-facing website. When you're done making changes, the copy will overwrite the previous version and your updates will be published.
This process applies to all content types except folders and orgfolders. This includes pages, news items, events, announcements, seminars, images, files, etc.
What are the benefits of this process?
- Pages are not taken offline during the revision process. Your page can still be accessed even while you're editing it.
- Items can be edited multiple times by multiple users without any changes going live until all revisions are made.
- Editors can compare the old and new versions during the editing process.
- Changes made to any item can be tracked using the History feature.
Note: Most content-editing roles allow you to check out an item; however, only users with the Publish Content role can check in an item.
Check Out Process
To check out and edit an item:
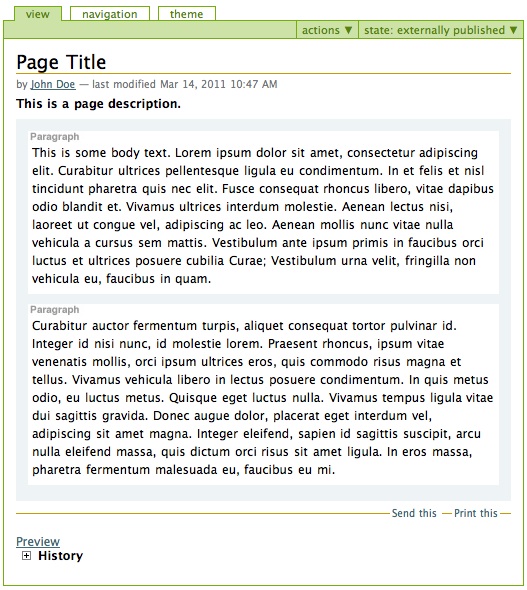
- Navigate to the page or content item you want to edit. You'll notice there is no Edit tab available.
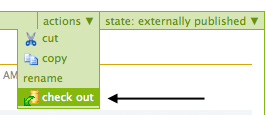
- In the green toolbar, select Actions, then Check Out.
- You now have a "working copy" of the item you wish to edit. When the page reloads, you'll see the following notices:

Side Note: If you take a look at the Contents tab now, you'll notice there are two versions of the item: an Externally Published version and a Working Draft version. After you check-in the Working Draft version, it will automatically overwrite the Externally Published version.

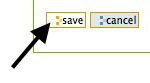
- Above the green toolbar, you should now see an Edit tab. Clicking on this tab will bring you to the Edit screen where you can make any changes you need. When you're done, remember to click Save at the bottom of the page.
An item can be checked out indefinitely; there is no deadline for when it must be checked in. Once an item is checked out, it can be edited by anyone with the Edit Content role as many times as needed. This means you can check out an item, work on it with others in your department over the course of several days, and check it in when you're ready.
While an externally published item is checked out, this notice will appear at the top of the page:

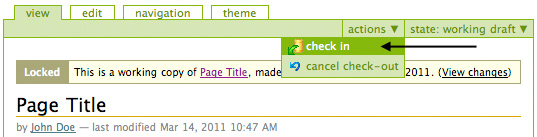
Similarly, the below notice will appear at the top of the "working copy" page:

Check In Process
When you're ready to publish your changes, follow the steps below to check in the item:
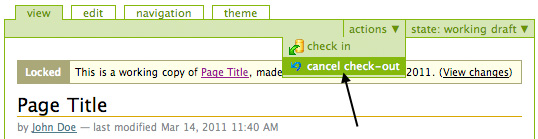
- Navigate to the "working copy" of the item you just edited. At the top of the page, you should see a notice saying, "This is a working copy of [Page Title] made by [Editor's Name] on [Date Modified]."
- In the green toolbar, select Actions, then click on Check In. (If you do not see an option to Check In, you may not have the Publish Content role. Please contact your subsite's Staff Manager for assistance.)
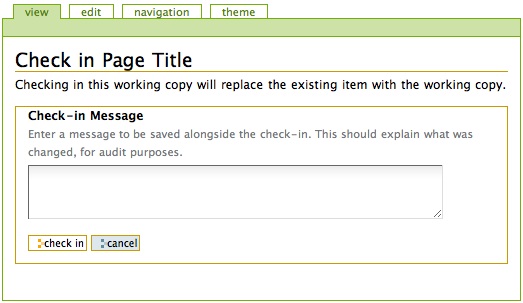
- When the page reloads, you'll be asked to confirm the check in. You can enter a Check-In Message (optional) to record any changes you've made, then click on Check In.
- When the page reloads, you should see the following notice:

Now, if you look at the Contents tab, you'll notice that there are no longer two versions of the same item. The old version has been replaced by the new version. The content URL (web address) remains the same and all links to the old item will now automatically point to the new version.
Canceling a Check Out
If, after checking out an item, you wish to cancel the check out and discard any changes you may have made, you can do so by following the steps below:
- Navigate to the "working copy" of the checked out item. At the top of the page, you should see a notice saying, "This is a working copy of [Page Title] made by [Editor's Name] on [Date Modified]."
- In the green toolbar, select Actions, then click on Cancel Check-Out.
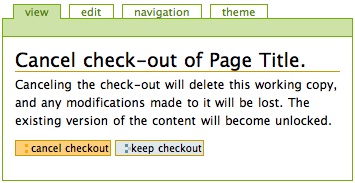
- When the page reloads, you'll be asked to confirm the cancellation. Click on Cancel Checkout to permanently delete the working copy and any changes you may have made, or click on Keep Checkout to continue working on the item.
- After clicking Cancel Checkout, the page will reload and you should see the following notice: